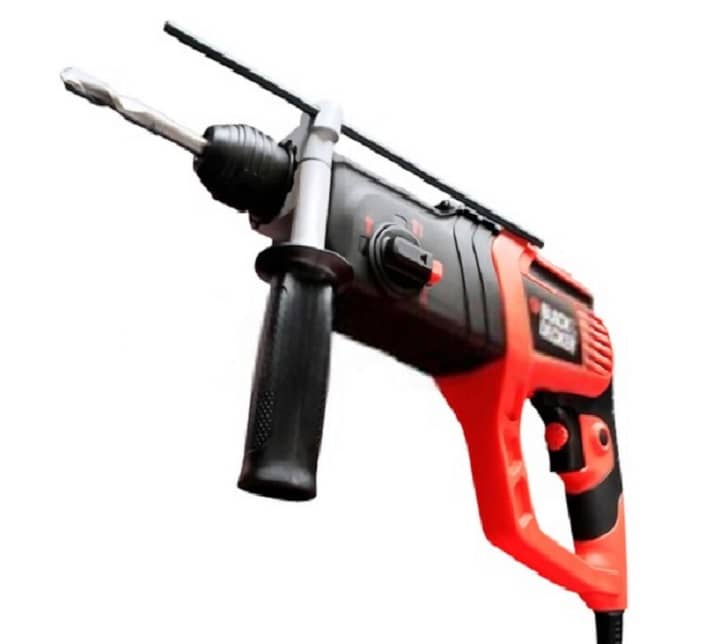
A drilling machine is almost a mandatory tool for every woodworking workshops and homeowners. There’s hardly any job that doesn’t require a power drill, from fixing the kitchen or bookshelf to hanging family pictures on the wall.
Nonetheless, you need to change the bit for the drill to meet the project requirements. Thus, today, we will present you how to change drill bit Black and Decker versions since Black and Decker is the most popular drill around.
How to Change Drill Bit Black and Decker
No doubt that Black and Decker is a leading power tool manufacturer, and the drill machine is one of their legendary products. It comes with various models to fit everyone’s requirements.
If you own a Black and Decker drill, this step by step guideline on changing the drill bit will be a treasure hunt for you.
Know the Drill Chuck at First
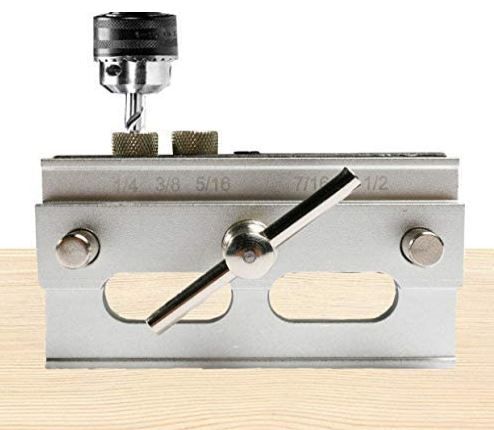
Understanding the chuck of a drill is essential for changing the bit effectively. Shortly putting, the chuck is where you will insert the bit for the drilling requirements. The chuck accommodates the bit right at its center.
It can be both opened or closed, depending on the drill model. It comes with three haws for the proper operation. Luckily, inserting large bits inside the chuck is easy. The problem basically comes while dealing with the small bits.
Black and Decker’s drills feature two types of chucks. These are-
- The keyless chuck that comes with the cordless drills
- The keyed chuck that comes with the corded drills.
So, let’s see how to change the drill bit in both the Black and Decker drill versions.
Changing Drill Bit in Keyless Chuck
Firstly, we will begin the tutorial on changing the drill bit for the Black and Decker keyless chuck versions. So, let’s get-go.
- Find the switch of the drill and locate the opening direction properly. You should find the control and opening right above the drill trigger. You need to turn the par anticlockwise so that it sets in the opening direction.
- At this point, you will have to use both hands to grip the drill correctly. Use your dominant hand to grab the drill firmly so that it doesn’t sleep away or move.
- Now, find the outer sleeve portion of the keyless drill chuck. Hold it firmly with your other hand.
- Press the trigger to switch off the drill machine. Now, wait for a few moments until the device is entirely switched off for safety purposes.
- Rotate the opening section properly to open it for the drill bit removal process. You must be careful not to press the trigger accidentally. If the drill is switched on, the bit might fly with extreme velocity and hurt you.
- Once the opening part is performed correctly, remove the old bit. Please insert the new one and rotate the outer sleeve clockwise to close it down, holding the bit firmly.
Hola, you have changed the keyless drill bit successfully.
Changing Drill Bit in The Keyed Chuck
If you have a keyed chuck, you will need to insert the key in the appropriate hole to further the bit changing process. The detailed steps are-
Step 1: Switching off the drill
Release the drill trigger to allow it turned off I a moment. Wait for a few moments with patience so that the drill is appropriately switched off after you have released the trigger. It is crucial so that the drill bit doesn’t come flying while you change the old one.
Step 2: Locating and inserting the key
The keyed chuck Black, and Decker models usually come with a chuck key. You will have to insert it inside the chuck to open or loosen it to remove the older bit correctly. The chuck key is located within the drill. Hold the drill with one hand firmly to stop its erratic movements.
Now hold the chuck key with one hand and insert it carefully in the drill chuckhole. You will see that both the chuck and key come with teeth. You will have to align the teeth of both the key and chuck properly to open it.
Step 3: Chuck opening
Once you have aligned the key properly with the chuck, flip the key clockwise direction. You need to turn the key until the jaw of the drill chuck opens up correctly.
You will have to make sure that the jaw has adequately opened and you have sufficient space to remove the older bit and install the new one inside the jaw opener.
Step 4: Old drill bit removal
Make sure you have opened the jaw closure correctly with enough space. Now, use your index finger and thumb to pull out the old bit from the chuck. You can also flip the drill downwards, allowing the bit to fall off on a flat surface.
Step 5: Inserting the new drill bit
Insert the shank of the drill bit inside the chuck opening at first. Also, it should face the chuck jaws for proper insertion. Now use the chuck key to close down the jaw opening part tightly so that the bit doesn’t come out while drilling jobs.
Sometimes, the bit tightening might not feel proper. If you experience such discomfort, use the chuck key to open the chuck and adjust the bit appropriately again. Also, tighten the enclosure once again and keep the chuck key safely for next use.
An important note:
Sometimes the bit might not set inside the chuck due to problems in the drill thread. You will have to use the screwdriver to remove or fix the problematic line allowing the bit to set correctly.
Conclusion
You must have a clear and prominent idea on how to change the drill bit, Black and Decker, by now. The bit-changing process isn’t challenging. The vital point is to open and close the chuck properly without disturbing the drill itself.
Furthermore, make sure the chuck closing is tight enough so that the bit doesn’t come out or feel loose as you work with the Black and Decker drill.