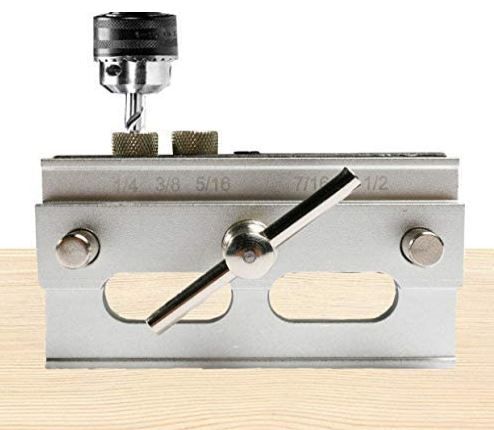
A brad nailer is a handy tool that is used to fire brad nails. Brad nailer is well-known for its narrow head at one side. To attach any small moldings or trims, a brad nailer is a handy tool, undoubtedly.
In this article, I am going to give you a quick guide on how to use a brad nailer.
Step by step using guideline of a brad nailer
Step 01: Get the right hose adapter
If you are using a pneumatic brad nailer, visit your nearest hardware store and purchase a hose adapter that should fit your brad nailer. Along with the hose adapter, you will need Teflon tape and oil for your pneumatic tool.
Maybe you are thinking, why do I need Teflon tape. It will assist the device and the hose to connect tightly.

Step 02: Use the Teflon tape to wrap up the connector
You need to wrap up the hose adaptor using the Teflon tape. Take the adaptor and connect it with the device, make sure you give it well-tightened to the connection. It is significantly vital not to allow any air leak. If required, take an adjustable wrench and tighten the joining.
Step 03: Use pneumatic oil to lubricate the adaptor
The device uses an air piston to work. Means, if the adaptor is not lubricated properly, it will not function appropriately. Give a few drops of the lubricating oil on the adaptor. If any mess happens, take a cloth and clean it.
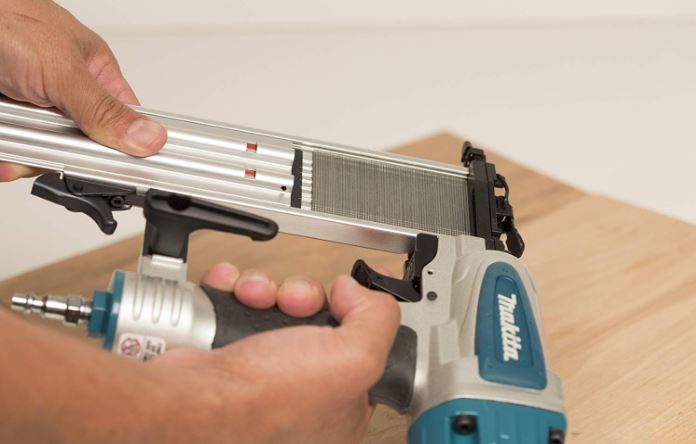
Step 04: Brad nailer needs to be loaded
Based on the model, you can load brad nailer with a particular amount of nails. Load your brad nailer with the nails that are required to complete the project.
Step 05: Create a connection between the air compressor and the device
Before creating a connection between the air compressor and device, permit the air compressor to pressurize. Once the air compressor is ready for the project, connect the one end of the hose to the air compressor and another end to the brad nailer.
Check the connection, whether they are well-tightened or not. Ensure, the connection is tightened enough, if required use a wrench.
Step 06: Give a trial
Take a plank of wood and check whether the device is working correctly or not. Hold the device with your both hands and place it to the position to fire nails. Make sure nothing is hampering the tool to accomplish the task.
The tool head has to be rested on the surface of the wood at a nearly 90° angle. Now, the trigger needs to be pulled and let the nail sink into the wood. I believe the brad nailer will not show any problem and it is now ready to perform on a plank of wood.